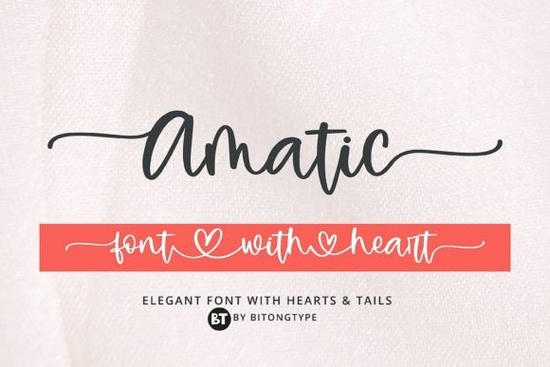
If you need a clean, hand-drawn typeface that feels personal but stays readable, the Amatic Font works well. Designers and small business owners often choose it because the thin, all-caps lettering pairs smoothly with almost any layout. Whether you are drafting wedding invitations, formatting printable wall art, or setting up text for a print-on-demand t-shirt, this style gives your work a relaxed, handmade finish. The file comes fully PUA encoded, so you will not have to guess how to reach extra glyphs or decorative swashes.
Why do crafters and POD sellers keep coming back to this style?
Handwritten typefaces can quickly become messy when scaled down, but this one maintains clear spacing and consistent stroke weight. That reliability matters when you are printing on textured cardstock or uploading designs to a marketplace that compresses images. The narrow, upright structure saves horizontal space, which helps when you are working with small product tags or Instagram story templates. If you enjoy mixing typefaces, you can easily pair it with a simple sans serif for body text or browse other complete script collections for branding to build a cohesive kit.
How do you access the extra glyphs and swashes?
Many beginners worry that special characters will stay hidden inside the font file. Because this typeface is PUA encoded, every alternate letter, ligature, and decorative mark is mapped to a standard Unicode slot. You can open the character map in Windows, use the Glyphs panel in Adobe Illustrator, or turn on the extras in Cricut Design Space and Silhouette Studio with a few clicks. There is no need for third-party software or complicated workarounds. If you prefer fonts that offer similar customization options, you might also want to test how playful lettering options for vinyl cuts handle intricate weeding or paper layering.
Which design projects get the most value from a thin hand-drawn look?
The lightweight strokes work best when you give them room to breathe. Here are a few practical applications where this style consistently performs well:
- Wedding and event stationery: Use it for names, dates, and short headings on invites, menus, and place cards.
- Social media graphics: The tall lettering stands out on Pinterest pins and Reels covers when paired with a solid background.
- Print-on-demand merchandise: It prints cleanly on tote bags, mugs, and apparel, especially when you avoid overly small text sizes.
- Branding elements: Small business owners often apply it to packaging stickers, thank-you cards, and simple logo marks.
When you need a slightly softer alternative for longer paragraphs, you can compare it with flowing cursive alternatives for logos to see which weight matches your layout. For a more rugged, brush-painted feel, some creators switch to rugged brush styles for outdoor gear when designing camping supplies or rustic labels.
What should you verify before selling items made with this font?
Licensing terms vary depending on where you download the file and how you plan to use it. Always check whether the license covers personal projects, small batch sales, or large-scale commercial distribution. Keep your original purchase receipt and note any restrictions on embedding the typeface in editable templates or digital planners. It is also smart to run a quick print test on your final material. Thin lines can sometimes disappear on dark fabrics or low-resolution printers, so adjusting the tracking or adding a subtle offset stroke can improve readability without changing the overall vibe.
How do you keep the layout balanced and easy to read?
Because the letters are naturally narrow, tightening the kerning too much will make words blend together. Leave a little extra space between characters, especially when working in all caps. Pair the typeface with a neutral background and avoid placing it over busy photographs or heavy patterns. If you are designing for mobile screens, increase the font size slightly and test the contrast ratio. You can also explore similar hand-drawn typefaces for your toolkit to find complementary weights that keep your visual hierarchy clear.
Before you finalize your next project, run through this quick checklist to save time and avoid reprints:
- Verify the license matches your intended use, especially for commercial sales or client work.
- Open the glyphs panel to test alternate characters and confirm PUA encoding works in your software.
- Print a sample at actual size to check stroke visibility on your chosen paper or fabric.
- Adjust letter spacing so the thin lines do not overlap or disappear when scaled down.
- Save your design files with outlined text or embedded fonts to prevent formatting shifts later.
Take a few minutes to test these steps, and your layouts will look polished, professional, and ready to share or sell.
Explore Design Honey Font: Creative Typography for Modern Projects
 Urban Stars Font for Creative Web Projects
 Snoopy Font: Creative Ideas for Fun Projects
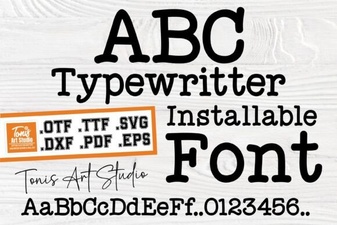 Modern Typography: Using the Ab Typewriter Font
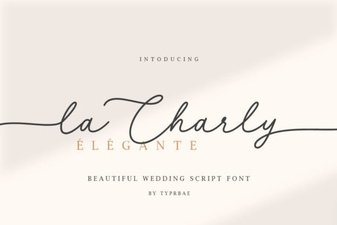 La Charly Font: Design with Playful Elegance
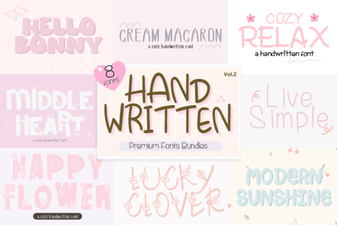 Creative Projects with Handwritten Bundle Fonts